react教程,类/函数两种组件方式使用传统门功能异位渲染
发布于 作者:苏南大叔 来源:平行空间笔记本~react教程,如何利用传统门功能异位渲染一个组件?在上一篇文章中,已经对传送门的基本原理进行了描述。使用的例子是基于传统的类组件的,在组件加载的时候,添加一个临时容器。在组件卸载的时候,删除这个临时容器。那么,这个时机在函数组件里面说明的话,就是副作用,会使用useEffect进行管理。
苏南大叔的平行空间笔记本博客,记录苏南大叔和计算机代码的故事。测试环境:create-react-app@5.0.1,react@18.2.0,react-dom@18.2.0,node@16.14.2。
类组件传送门(前文回顾)
在上一篇文章的第二个例子里面,代码把所有的浮层对话框之类的组件都集中到了一个叫做root-modal的div里面。这个特殊的div置于body下面。
核心代码:
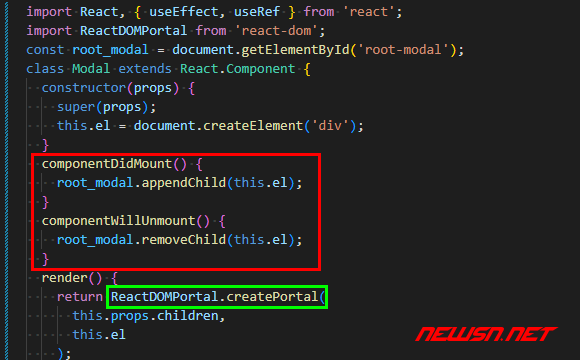
import React from 'react';
import ReactDOMPortal from 'react-dom';

const root_modal = document.getElementById('root-modal');
class Modal extends React.Component {
  constructor(props) {
    super(props);
    this.el = document.createElement('div');
  }
  componentDidMount() {
    root_modal.appendChild(this.el);
  }
  componentWillUnmount() {
    root_modal.removeChild(this.el);
  }
  render() {
    return ReactDOMPortal.createPortal(
      this.props.children,
      this.el
    );
  }
}
函数组件传送门【重点】
核心代码:
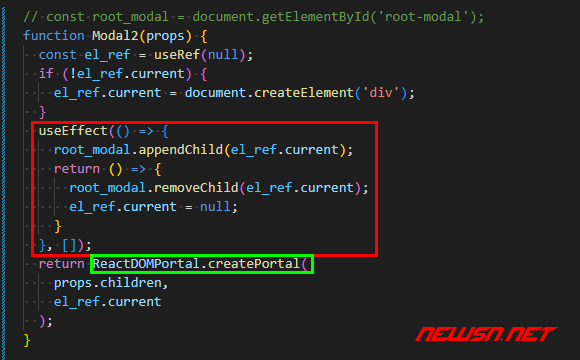
import React, { useEffect, useRef } from 'react';
import ReactDOMPortal from 'react-dom';

const root_modal = document.getElementById('root-modal');
function Modal2(props) {
  const el_ref = useRef(null);
  if (!el_ref.current) {
    el_ref.current = document.createElement('div');
  }
  useEffect(() => {
    root_modal.appendChild(el_ref.current);
    return () => {
      root_modal.removeChild(el_ref.current);
      el_ref.current = null;
    }
  }, []);
  return ReactDOMPortal.createPortal(
    props.children,
    el_ref.current
  );
}
完整代码
index.html里面,有两个div做react的容器。
<div id="root"></div>
<div id="root-modal"></div>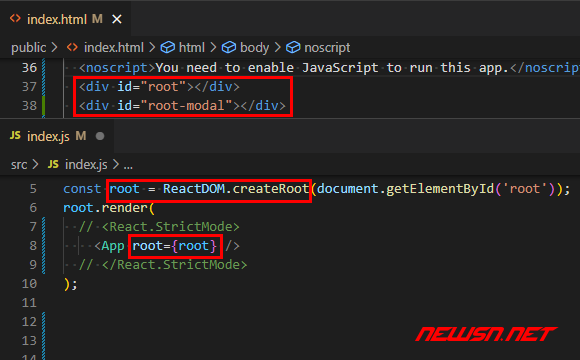
src/index.js【注意props.root字样】:
import React from 'react';
import ReactDOM from 'react-dom/client';
import App from './App';
const root = ReactDOM.createRoot(document.getElementById('root'));
root.render(
    <App root={root} />
);下面的例子,分别使用两种方式创建了react的传送门功能。一个是使用类组件,另外一个是函数组件。两种类型的组件,核心函数都是createPortal()。
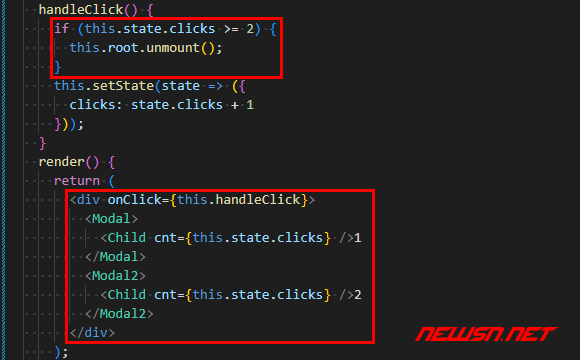
import React, { useEffect, useRef } from 'react';
import ReactDOMPortal from 'react-dom';

const root_modal = document.getElementById('root-modal');
function Modal2(props) {
  const el_ref = useRef(null);
  if (!el_ref.current) {
    el_ref.current = document.createElement('div');
  }
  useEffect(() => {
    root_modal.appendChild(el_ref.current);
    return () => {
      root_modal.removeChild(el_ref.current);
      el_ref.current = null;
    }
  }, []);
  return ReactDOMPortal.createPortal(
    props.children,
    el_ref.current
  );
}
class App extends React.Component {
  constructor(props) {
    super(props);
    this.root = props.root;
    this.state = { clicks: 0 };
    this.handleClick = this.handleClick.bind(this);
  }
  handleClick() {
    if (this.state.clicks >= 2) {
      this.root.unmount();
    }
    this.setState(state => ({
      clicks: state.clicks + 1
    }));
  }
  render() {
    return (
      <div onClick={this.handleClick}>
        <Modal>
          <Child cnt={this.state.clicks} />1
        </Modal>
        <Modal2>
          <Child cnt={this.state.clicks} />2
        </Modal2>
      </div>
    );
  }
}
function Child(props) {
  return (
    <button>实际脱离文档流了,但是依然响应react事件[{props.cnt}][3次毁灭]</button>
  );
}
export default App;【重要结论】为了监测卸载的效果,在点击三次之后,使用root.unmount()来卸载react的root容器。可以看到modal-root容器内的组件也被卸载。(通过WillUnmount()来进行卸载)。
